background

Saturday, October 29, 2011

Pumpkin Trifle

Because I'm obsessed with trifles and pumpkins and fall: http://pinterest.com/pin/87235822/
This was supposed to go out last night  at our Halloween party, but I was running around like a chicken with my head cut off prior to the event and didn't get it assembled in time. Plus, there was plenty of food out already and more kept coming as guests brought their goodies to share:)
 The good news was I got to bring it to the annual neighborhood pumpkin carving party. It's over on the table with Marnie's impromptu, though oh so delicious, chili.
I totally forgot to put the solid packed pumpkin in with the pudding, but the dessert still managed to disappear into thin air...muah ha ha ha;)
*my favorite part about trifles is that they look impressive, but are so incredibly simple!!!

Friday, October 28, 2011

Forked Eyeball Halloween Treats

I pinned these here: http://pinterest.com/pin/173208607/ for easy reference, but originally saw them in my Family Fun Magazine when it was delivered back in 2008. HA. My sister introduced us to Bakerella's cake balls years ago, but what I liked about the Family Fun Mag's idea was that not only was it decorated perfectly for Halloween, but it used time saving pre-made donut holes too . The boys and I made a donut hole version on lollipop sticks for Levi's 5th birthday party and they were a hit, so I decided to use that "TRICK" again. I called Dunken Donuts ahead to see if they would have 50 or so for me to pick up right away or if I'd have to place a special order. The employee told me what flavors were available immediately, but said others could be available in a few hours. I almost died when she said "JELLY FILLED MUNCHKINS" were an option!!! I thought BLOOD GUSHING EYEBALLS couldn't be any more perfect for Halloween!!!
  My lil helpers and supplies.
 We melted the chocolate in the microwave and the boys each did a test donut. The icing was still way too thick, so they had to be eaten...much to the boys delight.
 Meanwhile, I was frantically looking for the recipe online on how to get the icing more fluid...and, of course, I didn't look it up ahead of time. But in my defense, I don't remember having the same problem the first time we did these. Hmmm. The cure was adding some oil.
 Another problem we encountered was the jelly was tainting the icing, leaving pink trails. So, I sent the boys to play while I plugged all the holes with candy melts.
 Then it was back to work. Love the concentration!
I really wanted this would be fun, but my perfectionist personality was causing me to stress out because... heaven forbid...the white frosting was dripping down the black forks. I found myself nagging them to please be more careful, which is no fun for them:(
However, they were total troopers. 
And, as it turned out, they were bored after only doing half...which meant I could finish them more "perfectly." This was not the case though. They continued to drip for me too. I decided to embrace the drip and think of it more as eyeball ooze that would lend to the creepy effect of eating a bloody eyeball. Then I attached green M&M's with the leftover candy melts. I didn't have enough M&M's to finish so I just let them dry, then put them in gallon zip lock bags, making sure they were not touching each other.
 The next day I bought more M & M's (fall colors for the Halloween party snack mix) and am kicking myself that I didn't by regular for the green and maybe some blue, but I'm cheap. Then I started adding the bloody veins. I thought using the pressurized canned frosting would do the trick, but the lines were coming out too thick. Ultimately, I wanted to just draw the lines with edible food coloring pens, but my red one was old and not working. So, I squirted the red icing into a baggie, clipped a tiny hole in the corner and found it to work much better than the can...way more control of the flow!!!
A lil close up.
When they were dry I slid them into individual clear plastic bags that I purchased at ABC Cake Decorating Company and used a twist tie to seal them up.
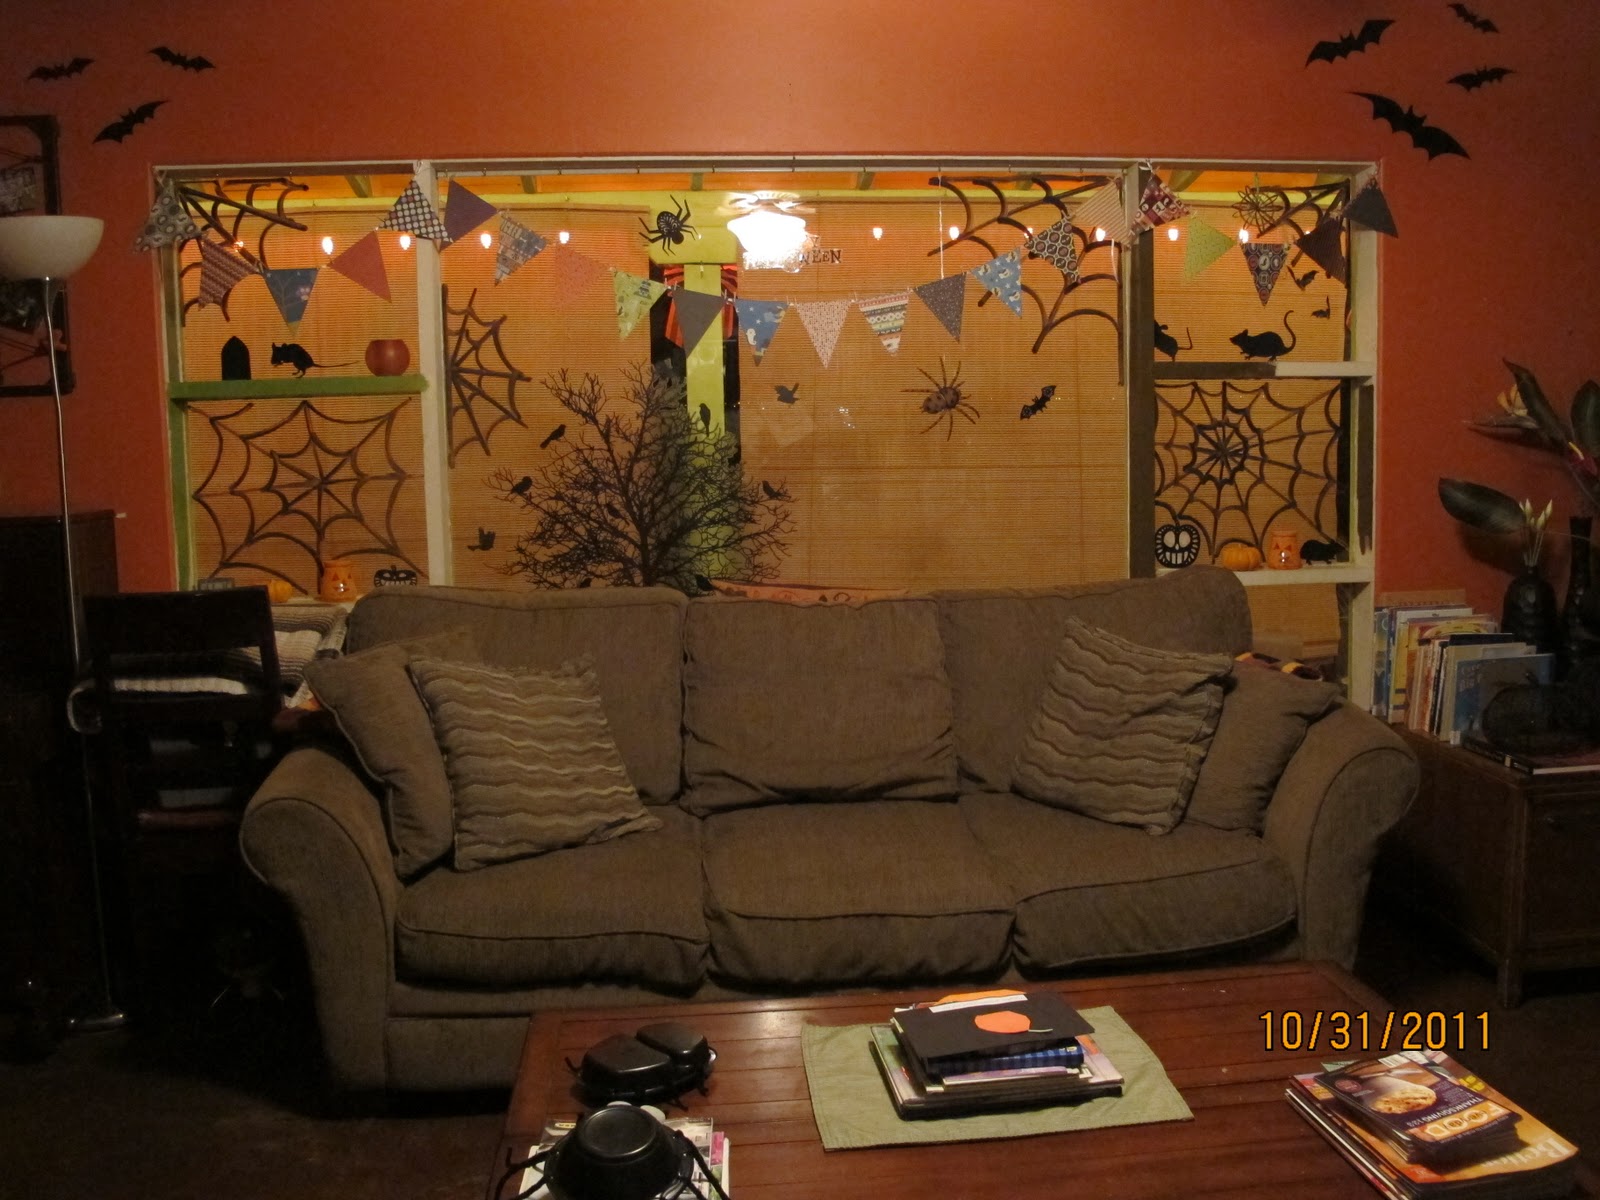
Then the wolf and I got to pass them out at our Halloween Party. YAY!!!

Wednesday, October 26, 2011

Altered School Photo for Halloween

Not sure where the inspiration came from on this one. I had seen in Halloween magazines past, maybe Martha Stewart Living, where they make photos look like the eyes are following you. Or at the Halloween "Spirit" stores where they are selling hologram like pictures where, as you walk past, the image in the pic goes from normal to skeletal, or zombie like. Anyway, I was hot gluing googlie eyes on another project and thought it would be funny to put them on the glass of Levi's school photo and see if anyone noticed. Then I thought I could draw on the glass like I do for the framed glass and scrapbook paper dry erase board I posted here.
In the end, I made Levi a pirate and he thinks it's the funniest thing!!!

***UPDATE***
A while after Halloween Levi asked if he could do his own drawings on this photo. I need to post pics. He had a lot of fun!

Pumpkin T.P. Rolls

Thought this whole craft station was cute: http://pinterest.com/pin/176894047/, but I only made the t.p. rolls for our bathroom. I embellished them slightly different, but loved the inspiration!
 The timing couldn't be more perfect. Costco stopped individually wrapping each roll of t.p. which made me sad, but this will take care of that problem for a while;) Abey always wants to be in the picture. LOL.
...and here they are all done.
I cut the faces out of paper, the leaves from tissue paper (though I'd use card stock next time), and stems from pipe cleaner curled around a pencil. So so simple and cute!!! Click here for the pumpkin leaf template.
In the guest bathroom.
 ...and in the master.
This is a wall cabinet to add some much needed storage that has just been sitting on the floor for months!!! Adding it to the list of things to do now:)

Tuesday, October 25, 2011

Halloween Bat Lanterns

Came across this super cute idea: http://pinterest.com/pin/320605497/ and pinned it to my "Halloween" board. l already had the lanterns...we bought them years ago at Cost Plus with a gift card from one of Joshua's piano students. And, surprise surprise, they've just sat on a shelf in the green room unopened. I like the large lantern in the pin way better, but these were free and needed to be liberated from their dark cupboard so they could shine light on our party goers. I used this bat template and cut out 3 bats in each size for each lantern, so nine bats per lantern. I creased them in four spots to give them some dimension and used a hot glue gun to attach them.
I popped in the batteries and hung them up...I LOVE THEM!
Seriously!?!...this is the only picture I got:( There was one for each tree lining our driveway.

Friday, October 21, 2011

No Heat "Twisted Bun/Bantu Knots" Curls

Repinned another version of no heat curls:http://pinterest.com/pin/350945928/.
My first attempt...
I divided my hair in half and clipped the top up while I made four buns on the bottom. Then I unclipped the top and made six on the top...three on each side.
I sprayed my hair with water all over to dampen it. Then twisted and bobby pinned.
Then I was off to bed.
The next morning...
Oh my goodness, this is what unraveling the first ONE looked like!
...and on a side note: I had no problem sleeping on the buns and they didn't unravel.
 The curls were waaaaaay tighter than I thought they would be!
The right side of my head has less hair then the other, so doing three buns on this side made the curls even kinkier. Plus, they were much harder to unravel. My hair was getting all tangled and frizzy.
Then I made a HUGE mistake!!! (pun intended;) I brushed it out. LOL!!!
I tried to tame it down by running Frizz-Ease all through it, but my hair was sooooo huge I just wore it back in a little claw when we went to the park.
So, lessons learned...1.) My hair is so thin I need to make fewer, thicker buns and 2.) Make fewer buns on the right side to make up for lack of hair. Will definitely try this method again.

Wednesday, October 19, 2011

Foot Print Ghosts

Thought this was cute so I repinned it: http://pinterest.com/pin/145883907/. Halloween foot print art.
 The boys got to paint G'ma's foot with white acrylic paint. G'ma is ticklish and thought the paint was cold!!!
 They covered her whole foot.
 Then we placed her foot in the middle.
 Next it was the boys turn. I thought I would paint one and G'ma the other, but the littles wanted to do it all themselves.
 Lity's turn.
 Then Abradoodle's.
 Just love this pic of Abey and Grammy.
Turns out ma and Levi have high arches so i filled in the gaps with left over paint. Once it dries I'll add the eyes. I need to get to Michaels to buy a white marker to finish it up. Can't wait.
TA DA!!! It's so so so cute:)
Went to Michael's and scored the simple 12x12 scrapbook frame on sale for $4.99. Bought a couple extra too;) The white Sharpie paint marker didn't work as well as I had hoped. I went over the lettering a couple times, but it never turned opaque...no biggie, more ghostly sheer I guess;) I used left over ribbon from last years wreath and tied it around a nail and tucked the ends behind the frame. Then I used the super cute hair clip my neighbor made (and put in our boo bag:))) to hide the nail and embellish it all. Only problem is I can't wear the clip:( Then Levi came home with this adorable paper framed pumpkin craft and it added that much more cuteness to the wall.
***The painting of the door and wall need to be done a.s.a.p. No doubt with this whole holding myself accountable thing, it will get done.***

Boxes into Buildings

October 19, 2011.
A little update. Levi still likes using his original box from the original post below...dated 9/20/2011, but today he just blew me away with this architectural genius:) I've been saving  more boxes for him and kept this larger one in the pantry. He used two t.p tubes and one paper towel tube, that he cut in half, to make the stilts. Then he cut open another paper towel tube to use as a ramp!
 Voila!
I helped him take it to the bedroom. I showed him that by cutting two slits in each tube he could keep the top box from shifting so much. Levi added the green Duplo to the stilt that was too short. Then he continued to draw on it, including a "camper" parking space. I caught a pic just as the camper was going off the edge. Oops!

September 20, 2011.
I went to Costco today and came home with some boxes that I would normally put right in the recycle bin, but I had remembered pinning this: http://pinterest.com/pin/122322967/ a while back and thought I'd give it a try. Our version was done by taping 8.5 x 11 pieces of scrap paper from Joshua's school to the boxes and letting the boys draw "the details."
 Posing time.
I never got a finished product picture of either of them, but Levi used his as a garage for his truck. His drawing is on the back. He didn't want to to put paper on the front. He liked the oranges. LOL...go figure!
***So, my vision was to have them fully wrapped with way more house like details, but I've got 29 more years of drawing experience;) I'm just glad they had fun doodling. Someday I hope to surprise them with a finished set like the ones in the "PIN." Gotta add that to "THE LIST"!!!

Tuesday, October 18, 2011

"The List"...of projects to finish!

finish witch/cat post10/21/2011
finish ghost foot prints and post pic 10/19/2011
pics of spider webbed windows 10/7/2011
boxes into buildings...9/20/11.
finish globe project from 9/20/11.
wrap pipe cleaner "LOVE" in yarn from 9/27/11.
add a photo to "chalked alphabet" from 9/17/11.
paint "memories" sign green from 8/28/11.

Framed Glass and Scrapbook Paper Dry Erase Board

Back in March I cut, framed, and hung a dry erase board on our front door. It can be seen by clicking here and scrolling to the bottom of the post. It had a major flaw that I never fixed. I just let it hang there like that all these months because, well,  that's just what the "old me" did. However, the "new me" decided to do something about it TODAY! I had come across the idea of putting scrapbook paper in a glass fronted frame to make a customized dry erase board on Pinterest, on several occasions, but I had never repinned it. For this posts sake, I repinned a couple this morning to use as examples of what other people have done: http://pinterest.com/pin/346540618/, http://pinterest.com/pin/346483963/, and my favorite, http://pinterest.com/pin/346483963/.
At first I cut out a piece of scrapbook paper that matched the living room's color scheme and hung it up. It looked good, but then I decided I could change up the papers to match the season, just like the banners! So, I used a piece of scrapbook paper from my super duper uber cute Halloween stack.
I'm not too happy with the scale of the 8x10 image on the giant door, but it serves it's purpose and the boys can't reach it and accidentally erase anything.

No Heat "Sock Bun" Curls

I just repinned this today, http://pinterest.com/pin/350877801/ but actually watched the videos a while back. The link takes you to a site showing videos of 3 different ways to achieve "no heat" curls. I think the two sock methods would be more suitable for my hair type and length. Then last night, on a whim, after everyone was asleep, I decided to try the "How to Curl Your Hair With A Sock" one. 
This was the sock I cut. It has sentimental value to me...I bought it while I was going to school in England on an exchange program. It's like 15 years old and all peely, but I'm giving it new life!
*Abe wanted his hand in the picture.*
This is what it looks like all rolled up.
 I am quite pleased with how my hair turned out. I did mine as a low bun though because I find my scalp hurts when I put my hair up too high...weird I know.
*Abe jumped in on this pic too:)*
The left side of my hair turned out better because I pulled the bun to my left as I was rolling it up. I couldn't reach the back or see what I was doing going straight back. I think next time I'll do one on each side, like Princess Leia and see what happens.

Monday, October 17, 2011

Two Halloween Banners

Banners and Bunting are EVERYWHERE and I'm jumping on the band wagon!!! I'm in LOVE with all the color they add to the room and all the personality that shines through them. The colors, mediums, themes, and possibilities are endless. Since I still haven't managed to turn my junk room into a craft room YET, I have no access to my sewing machine...and, honestly, I don't have time to sew anyway. So, for Halloween, I am making my banner out of scrapbook paper.
I used my 40% off coupon to by a coordinated paper pad at Michaels. Out of the 4 "Halloween" themed packs to choose from, I was torn between the two more whimsical ones. Now that the bannering is up, I'm delighted with the one I ended up picking:)))
 I just cut 6 inch wide by 8 inch long triangles and hung them on a ribbon with tiny clothes pins.
 The sheets have an image on the front and back and I love that it can be seen from the outside as well!
 I used window paint to draw cobwebs all over. More on that here.
I'm pleased with how it turned out:)
I also found a pack of Halloween themed "die-cut mat pads" which are meant to have a 4x6 photos mounted on them in scrapbooks and such, but I used them for a banner also. My intent is to write "trick or treat" on them, one letter per rectangle, but I haven't found vinyl or chip board letters big enough for them yet. Not gonna worry about it this year, but hope to do so for the next. This set also has an image on each side and I love that the paper bunting is flat and will store easily for years to come. I can just leave the ribbon up and repin the next seasons papers in their place.
*UPDATE*
I tacked photos of Halloweens past, including a pic of my prego with Levi belly painted like a pumpkin, to the mats instead of doing text. I love the way it turned out:))) I still have more mats so I can keep adding pics year after year on a new row of ribbon.